
TikTok is by far the fastest growing social media platform in the world and if your business seeks to reach different audiences, it’s the perfect tool. Integrating SageData with TikTok can help you boost the performance of your content and measure the success of your TikTok campaigns by highlighting valuable insights.
Adding integration is super easy and takes less than 10 minutes – follow the guide below to get all the details.
Setting up TikTok Social integration with SageData
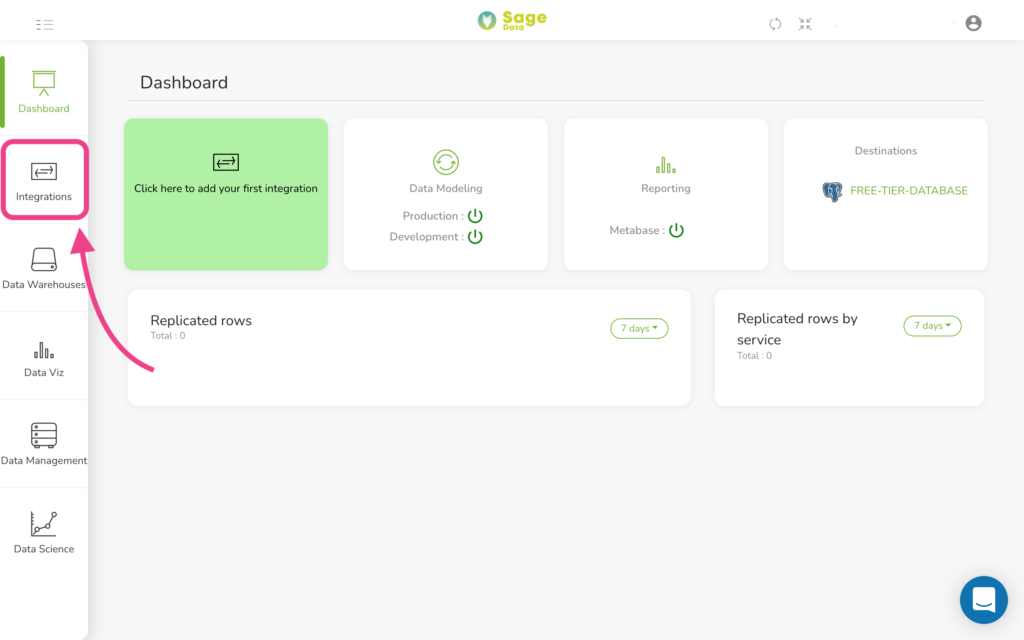
First, open the Integrations tab in your SageData personal cabinet.
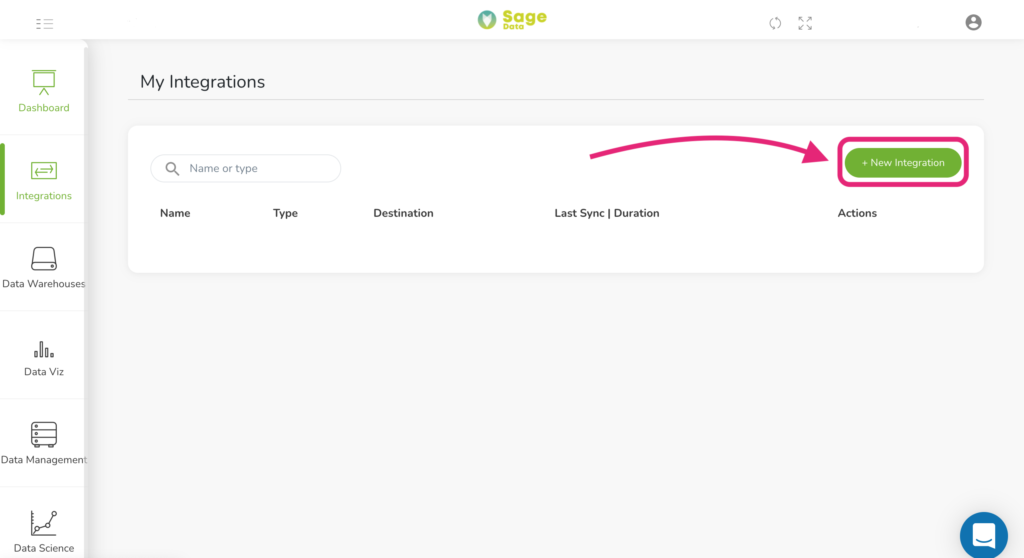
Tap on the + New Integration button in the top right corner.
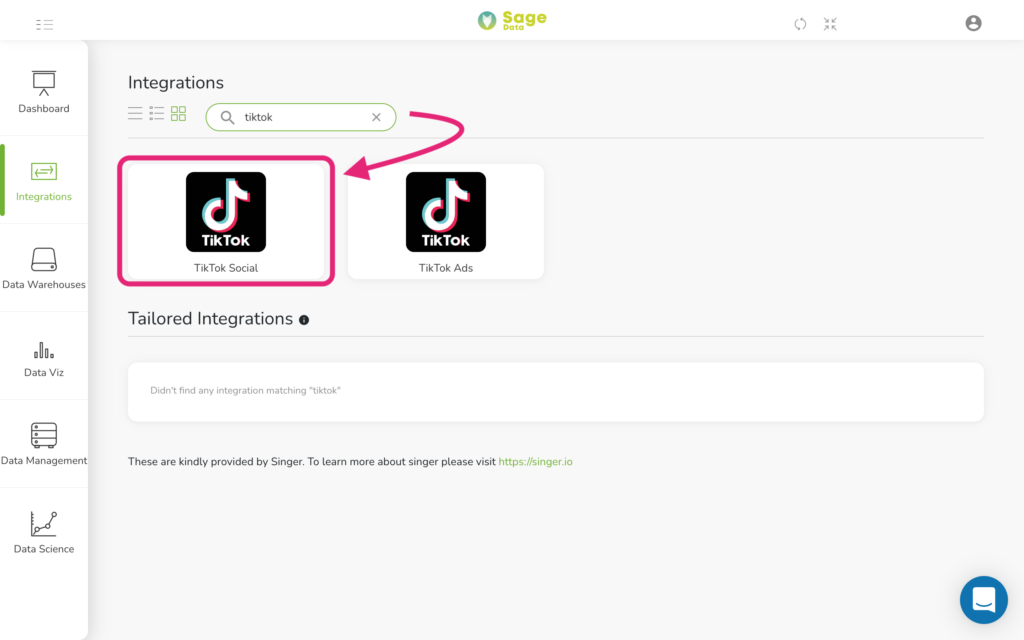
Find TikTok Social in the list of integrations available manually or via Search and click the corresponding button.
Giving SageData Access
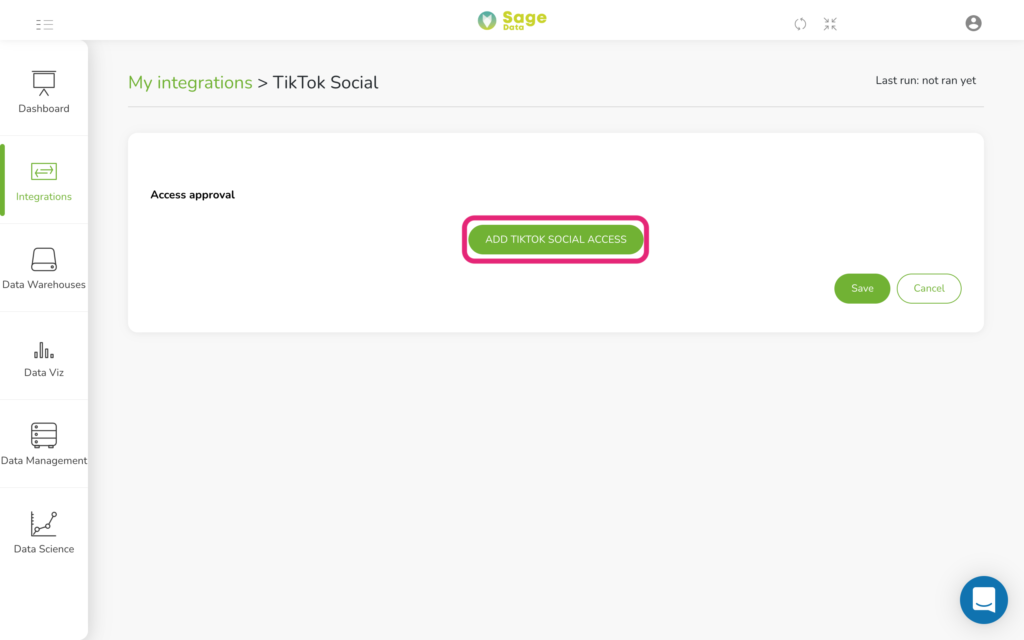
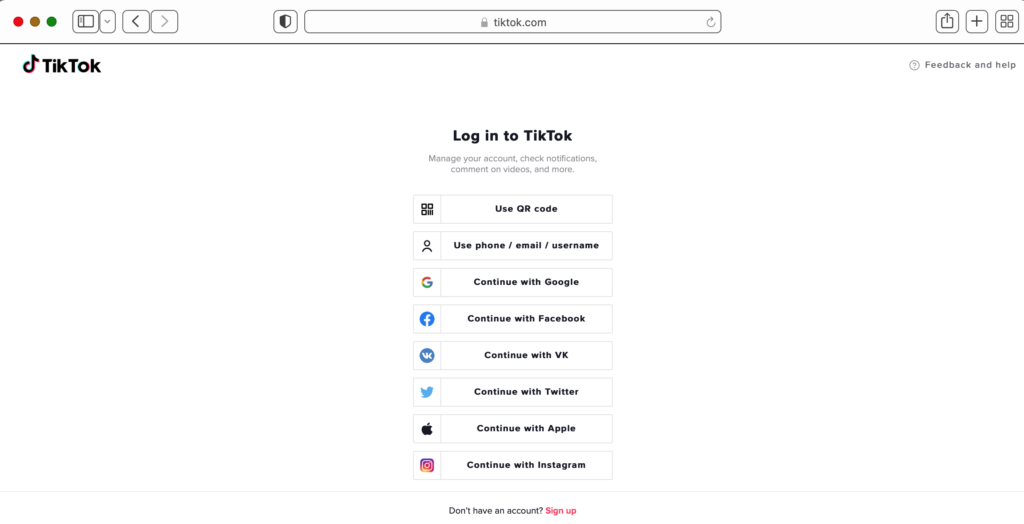
Next, you will see the Log in to TikTok window. Choose the login option depending on your account details and enter your credentials to continue.
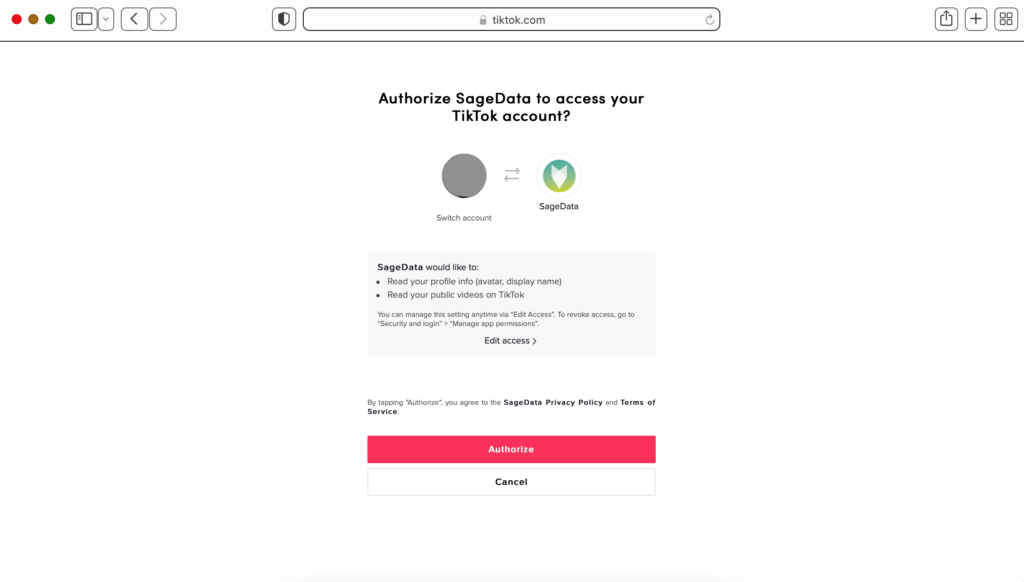
Now, please press Authorize button to provide the SageData app with the corresponding accesses.
Choosing specifics
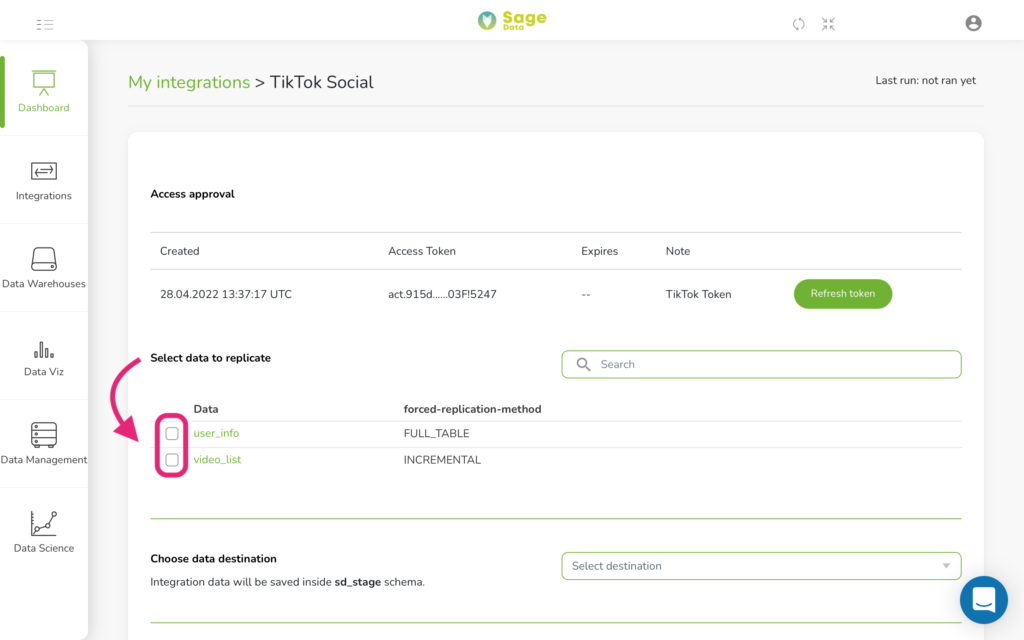
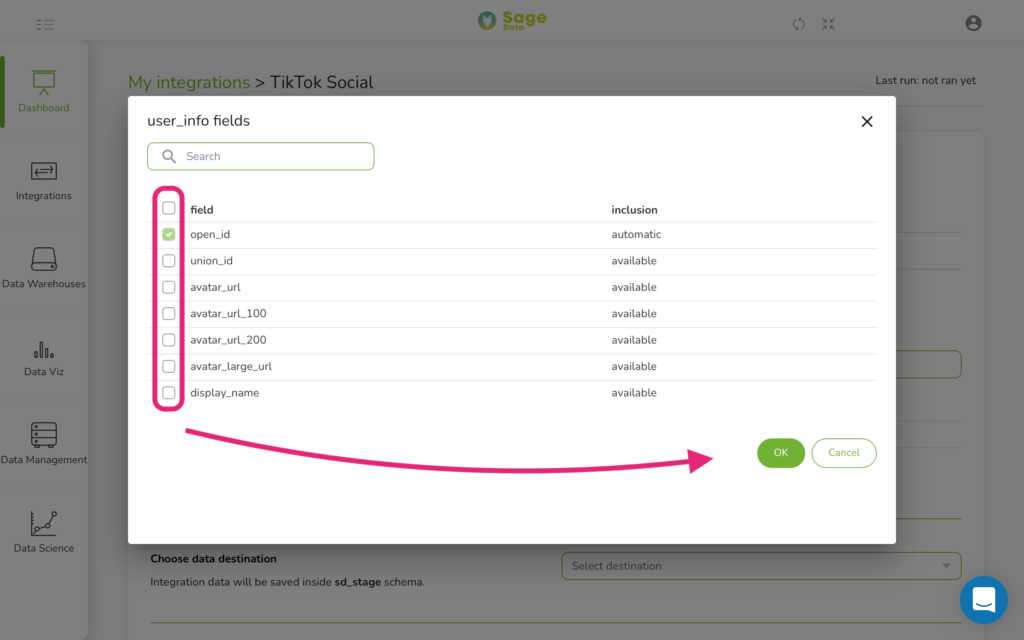
When the data type is selected, a data type fields window pops up. Here you can choose the specifics of the selected data. Tap OK to confirm your choice.
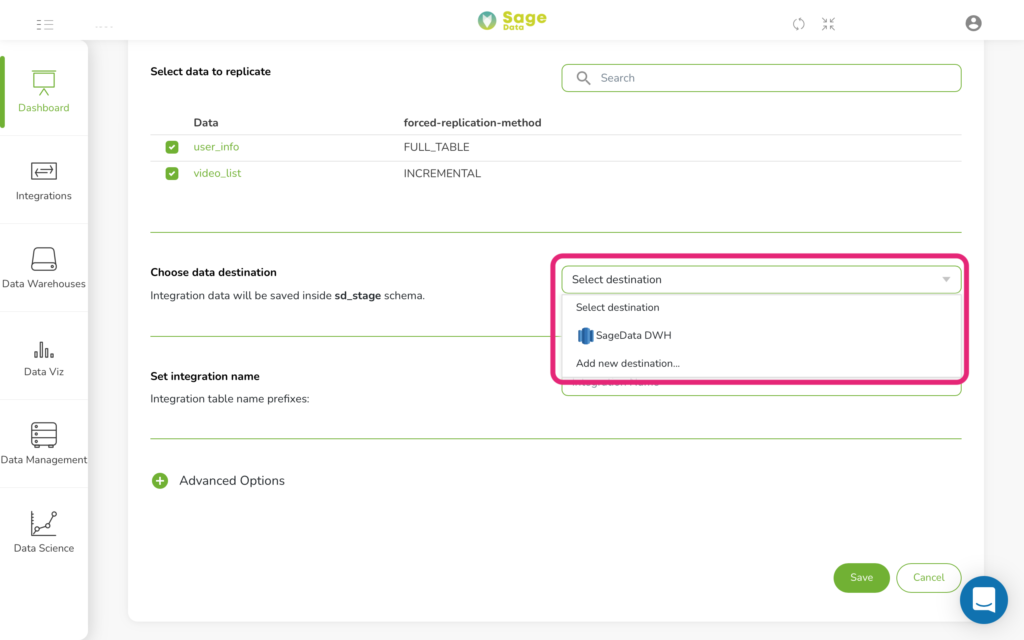
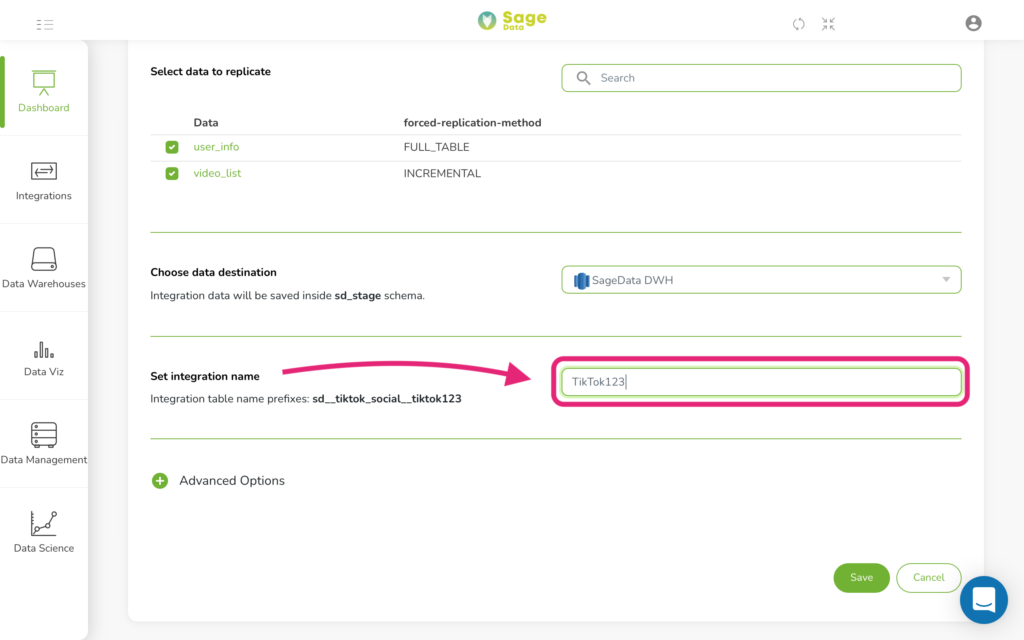
Below you’ll see an option to Choose data destination. Press Select Destination and in the open drop-down menu, choose the data warehouse where you want the selected data to be delivered.
Then, set the Integration name.
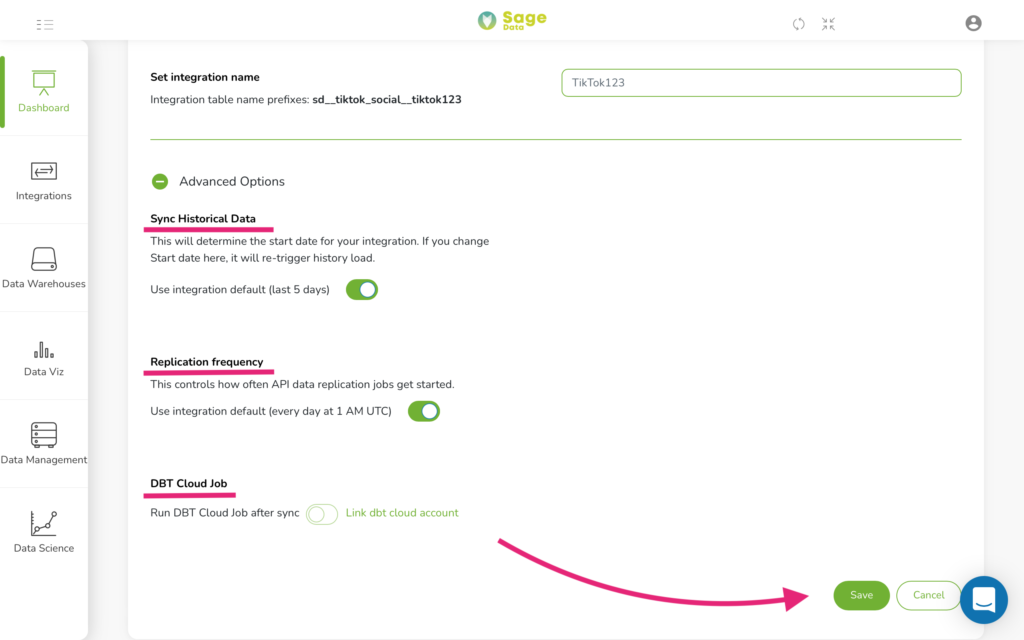
Advanced Options
There is also an Advanced options menu for you hidden under a green plus sign. Tap on it to set some additional conditions for the exported data.
For example, in the Sync Historical Data, you can set start and end days for your integration. The default option would be the last 5 days. You can also choose Replication frequency if there’s such a need or link DBT cloud account.
Just after you have all set up, click the Save button at the bottom of the screen and the integration will automatically start. The data will be delivered to a chosen data warehouse within a few minutes.
That’s it! Your data has been imported and your customized analytics are now available in your Sage Data account.